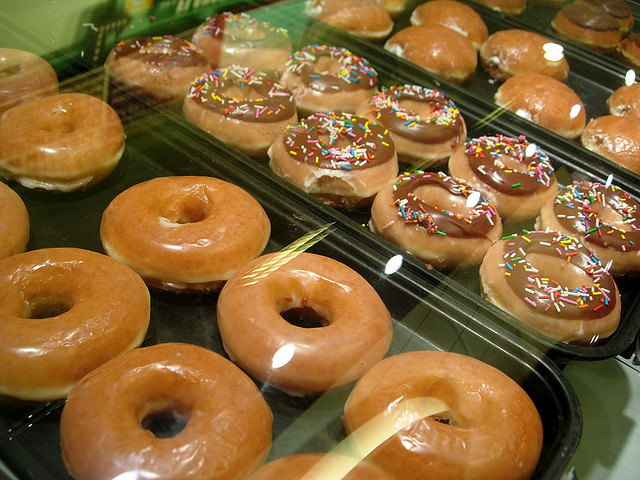
Your home is your blank canvas. It’s a place you can get a little funky to really showcase your style. One of the simple ways some homeowners like to jazz things up is with special effects mixed into their wall coloring. This can be achieved by hiring a professional or even by taking on a do-it-yourself project with the help of glaze. Glaze is more than the warm, sugary icing they drizzle over your favorite donut. Painter’s glaze looks a lot like donut glaze, but it has lasting effects. Well, donut glaze has lasting effects too, but not the good kind. With a little help you can easily incorporate easy glaze wall effects on your own.
Before you jump on the glazing bandwagon, you need to know what it is. Glazing is a product, but it’s also a technique. The very non-technical description is that it looks and acts almost like a thinned glue. You can tint it with color to help you etch designs into a bas color you’ve already applied to your wall. The application tools you use can help you in the style that you add to your creation. Rags, bags, combs, and even sponges give you easy glaze wall effects in a wide range of looks. One of the best parts of glazing is that you don’t have to be a professional to do it. If you mess up or don’t like how a section looks, you can simply wipe away or paint over the area and begin again.
Where to Begin
To begin your project, you need to determine whether you want to hire a professional painting contractor to get the easy glaze wall effects you desire, or if you think you can get the look you want on your own. Hiring a contractor might be a good move if you’re short on time, messy, or lack self-confidence in your painting abilities. If you plan to go it alone and try these easy glaze wall effects on your own, there are a few supplies you need on hand. First, protect your floors and furniture in the rooms you plan to paint. Next, you’ll want to go ahead and paint your base coat at least 24 hours before you plan to glaze. This gives your base coat plenty of time to dry. If the base coat is not properly dry, your glazing effect will mix with the base coat and come out murky and unattractive.
Simple Steps to Achieve Amazing Glaze
One you have your base coat completed, it’s time to get on with the easy glaze wall effects. Here are a few simple steps to follow:
- Mix your glaze with a tint or color. You can use some of your base coat paint, a shade lighter or darker than your base coat, or even a contrasting color. Be careful with a contrasting color. It could be too heavy and create more of a distraction than the effect you want. You’ll want to add about one-fourth part color to three-four parts glaze.
- Check the consistency of the glaze. You want to make sure it’s not too thick. Your tinted glaze can be thinned with a little bit of water.
- Brush your glaze onto the wall. Make sure you work with a small portion of the wall at a time. Brush on the glaze and then work it with your application tools. Make sure you keep the paint wet as you go along so there isn’t a noticeable seam where you’ve joined a dry patch of glazed wall with wet.
Those steps sound simple enough to create easy glaze wall effects, but if you’re unsure, hiring a professional painting contractor can help make this process much smoother on you.
Easy Glaze Wall Effects Ideas
Your imagination is your limitation when you think about easy glaze wall effects. You can use just about anything to bring a subtle texture to your walls with glazing. Here are a few examples of popular application tools that give unique looks to your easy glaze wall effects.
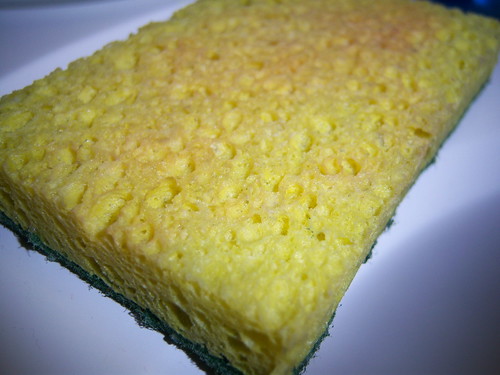
Sponges: The sponge might have been one of the first “out of the box” application tools novice painters used to bring texture to their walls. Sponges have come a long way and come in different styles, sizes, and textures, in both natural and manmade sponges.
Cheesecloth: The kitchen cloth is now taking on a role in home décor. You can wrinkle cheesecloth, roll it up, or use it like a sponge. All of those applications will yield you different effects.
Paper: Grab one of those old brown paper grocery bags, tear off a side of it, and wad it up like you would to throw it in the garbage. Now, take the wad of paper and dab it in a little tinted glaze and dab it onto your walls in a random pattern.
Plastic Wrap: It’s not just for keeping your salads fresh anymore. Load up a measure of plastic wrap and smear it on your wall to create a look like leather. This also works by using clean rags.
Combs: A newer idea in the easy glaze wall effects arsenal is to use combs. You paint on the glaze and then use a comb to remove clean lines of the glaze. Go straight or use the combs to bring the look of stucco in patterns.
Bubble Wrap: Here’s a fun one! Grab some bubble wrap and let the bubbles paint on perfectly round bubbles of glaze. It’s a fun idea for your child’s room. Just make sure you have lots of self-control. Pop your bubble wrap mid project and you might be in trouble.
The easy glaze wall effects are endless. If you can think it, try it! If you’re looking to be a little creative, just look for patterns in things you have laying around the house. You might happen upon the next big idea in amazing glaze. Professional painting contractors can also help you achieve the look you want in your easy glaze wall effects. While you pay for their services and expertise, a contractor can save you time. Good luck with your project.


