While a new coat of paint can breathe new life into any room, so can a great new piece of furniture. But you don’t always have to go out and spend hundreds of dollars on a new piece of furniture. Why not take something old and make it new again with paint? Painting old furniture is a chic new way to spice up any room and be environmentally conscious while doing it. All the big name home interior designers are doing it and making big bucks. Why not you?
Excuse #1, “I’m not good at do-it-yourself projects.” Well, read on for a step-by-step how to lesson that’s easy enough for any level handyman or woman. Excuse #2 could be “I don’t have the money for an expensive project.” Great! This isn’t expensive. In fact, if you have a good piece you want to transform, materials will likely cost you less than $100. Let’s talk about two distinct ways painting old furniture can be a fiscal way to dress up your home.
Painting Old Furniture
First, let’s start with the basics. For the best results when painting old furniture, make sure your base piece is solid wood. Many less expensive pieces may look like real wood, but they’re actually a cheap laminate that won’t take new paint, stain, or sanding. Some pieces are also wood veneer that will work as long as you don’t do a lot of sanding. That top layer of real wood veneer is very thin and could expose the laminate underneath if sanded too much. Whether you’re simply painting old furniture or you want to get a little fancy with the finish, it’s important to start with a clean surface. Soap, water, and a clean rag are the best beginnings of this process. Wash it with a cloth to remove dust and dirt and allow the surface to dry thoroughly.
Distressing Old Furniture With Ropainting
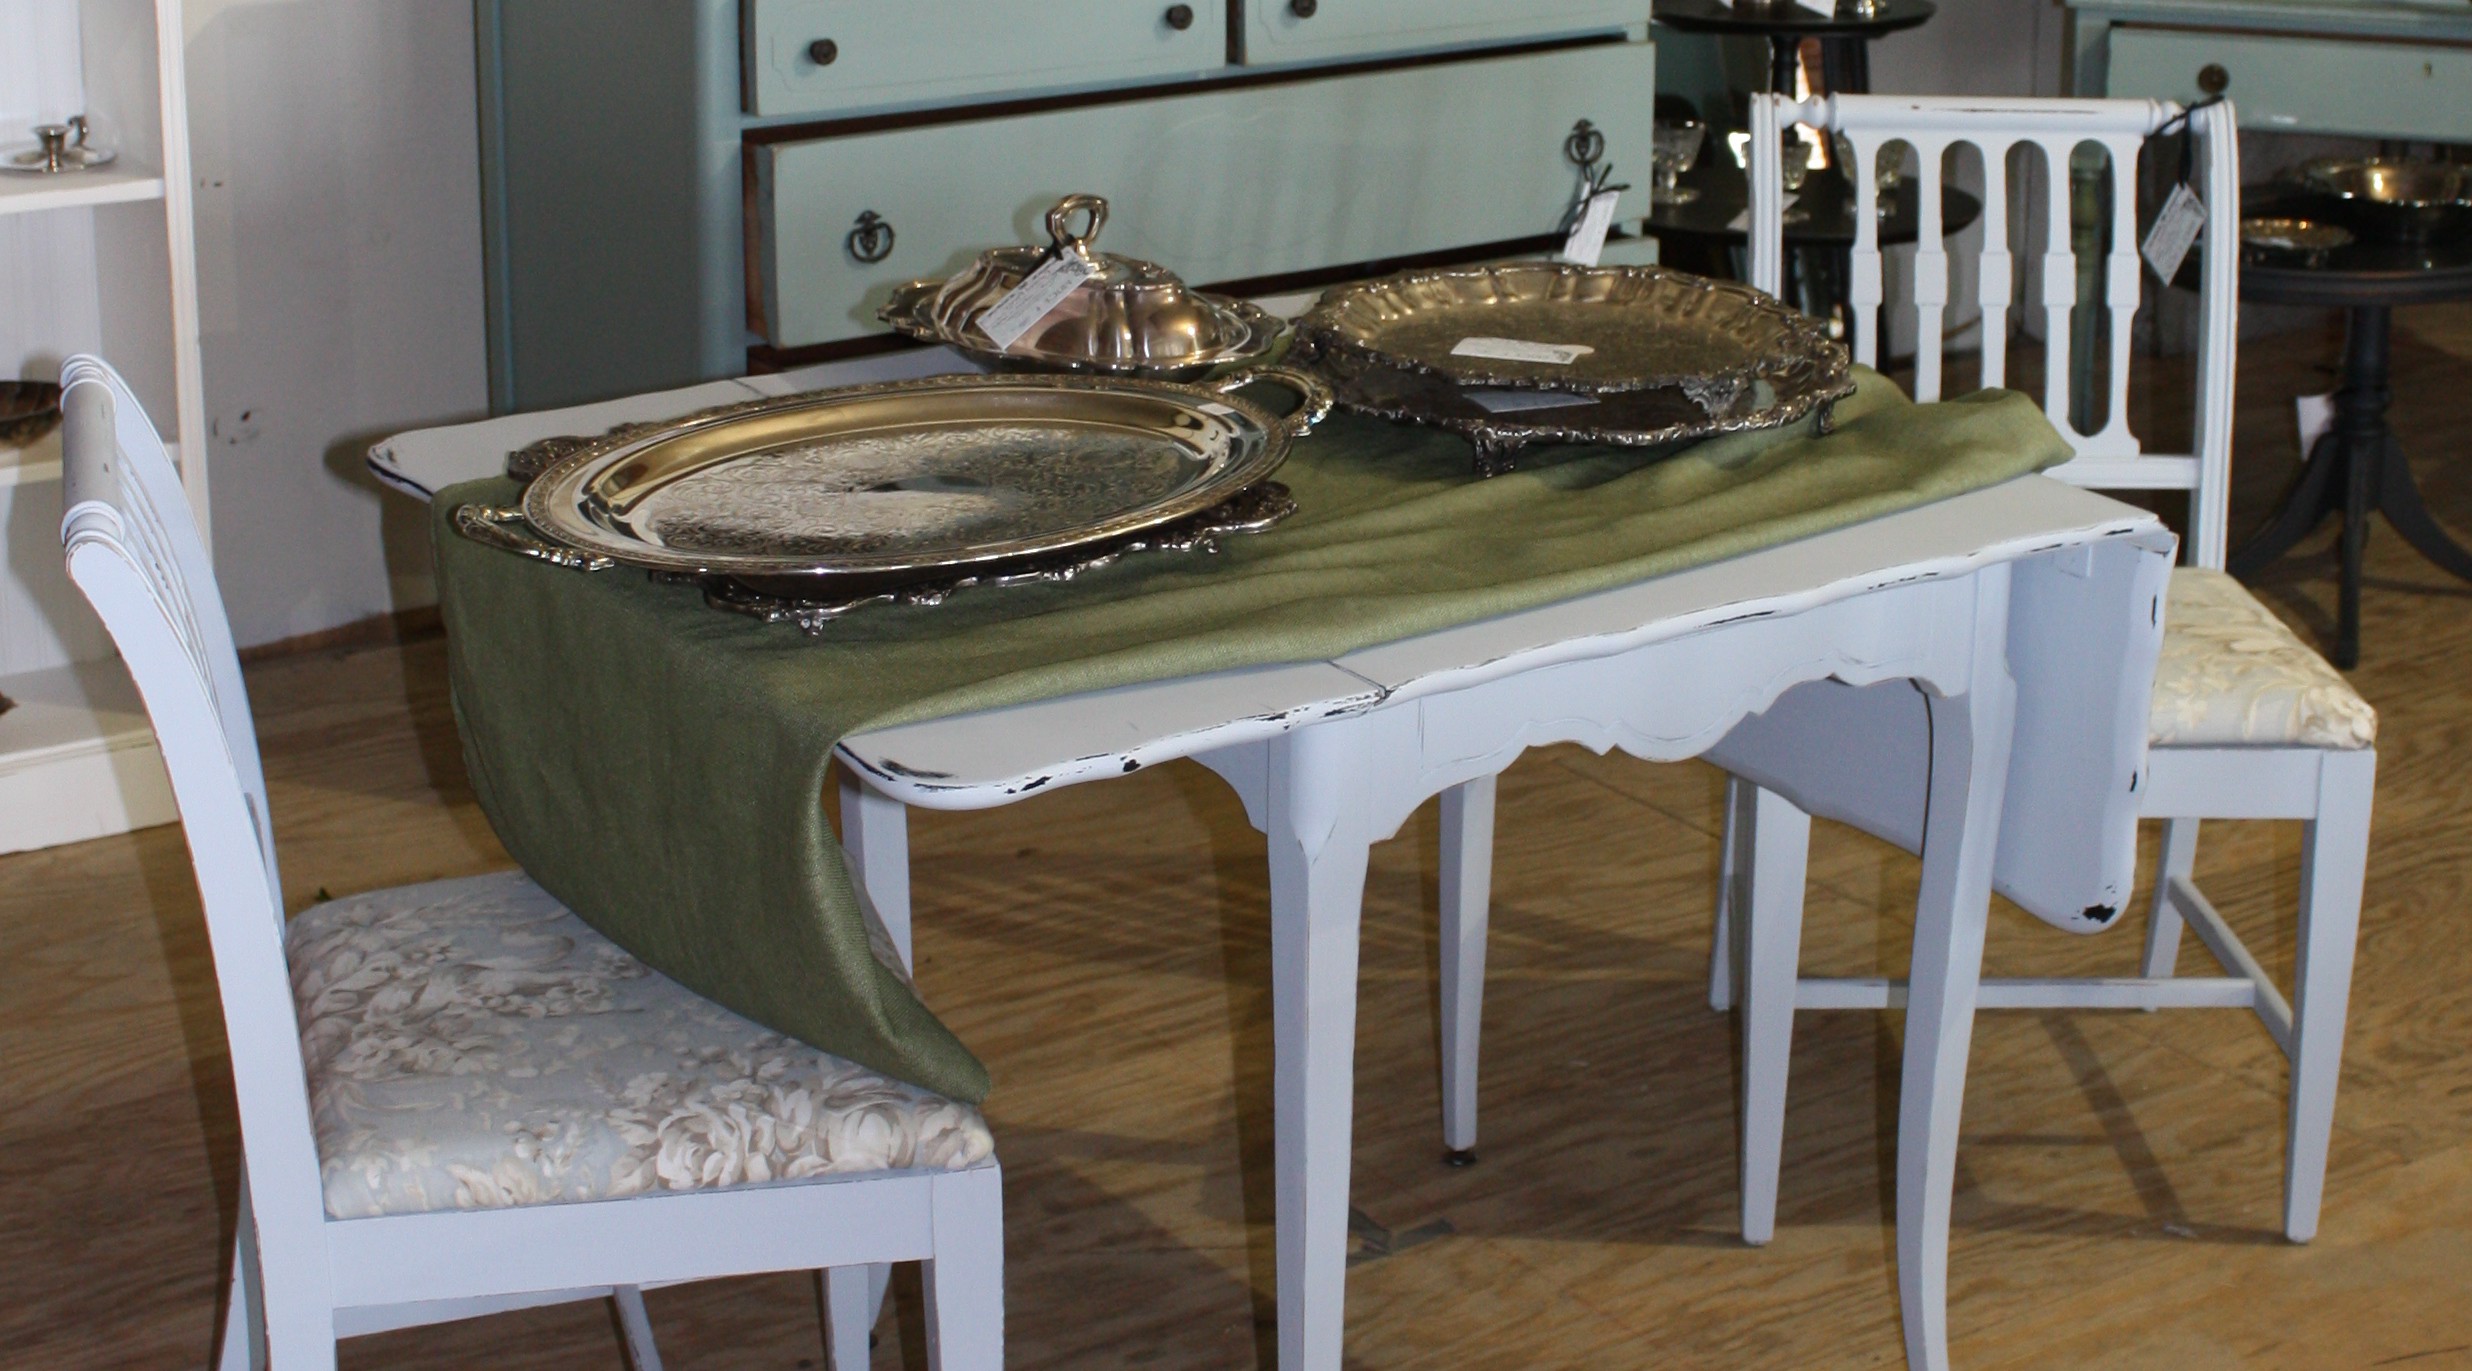
When painting old furniture, you have options for the final finish of your piece. You can choose to distress the finish. This makes it look old and worn. It’s a popular finish for those who love the shabby chic style. There is a science to distressing old furniture, so before you go out and take a crowbar to your china cabinet, pay attention to a few points we found on HGTV.com.
Materials and Tools:
- Satin latex paint for the base coat
- Satin latex paint or a wood stain for the topcoat
- Painting tools
- Candle
- Medium-grade steel wool
- Sandpaper
- Tack cloth
- Polyurethane to finish (optional)
Getting a distressed look while painting old furniture:
- Lightly sand the object you want to distress. If the object already has a finish (previously painted or varnished), sand all surfaces well, then wipe the piece with a tack cloth.
- Paint the entire piece in the base coat color you’ve selected.
- For the bare-wood look: When the base coat is dry, start sanding off areas that would naturally end up distressed — places where hands would have held it, or corners that could easily get nicked. For the color look: Rub candle wax on the areas where you’d like to see color show through. Then apply the topcoat.
- For the bare-wood look: Be sure to stop before you go too crazy with the sanding, and then wipe the entire piece with the tack cloth. For the color look: Paint over the base coat and the wax. Cover everything well. After the paint dries, rub the steel wool over the areas you’ve waxed. Wipe off the piece with the tack cloth.
- Apply a finish if desired.
How to Make a New Piece Look Like an Antique with Ropainting
Addicted2Decorating.com showcased a piece they restored. It was a light wooded buffet straight out of the 80’s that probably wouldn’t bring in much at a yard sale. Their artists decided to go for an antique finish while painting old furniture. Their tools and materials list was almost the same as the HGTV list except they used spray primers and spray paints instead of traditional rolled paint and a chemical sander instead of doing it by hand.
Here are the instructions from addictedtodecorating.com when painting old furniture with an antique finish:
- Using a dry rag, apply the liquid sander/deglosser according to the manufacturer’s instructions on the container. Use standard sandpaper to manually remove the finish from any areas that can’t be reached with the electric sander.
- Apply the spray primer.
- After the primer dries, spray with your topcoat.
- Use this sandpaper to distress the painted finish. When distressing the paint, the key to achieving a natural look is to remove the paint in areas where natural wear would occur–raised areas, corners, and areas around handles and/or knobs. You can distress as much or as little as you want.
- Next, it’s time to antique the painted areas with stain. Using a paintbrush, apply stain to the entire surface.
- Using a rag, wipe the stain off of the surface front. This process may require the use of a couple of rags. Be sure that you don’t remove too much stain. The key is to leave it settled in cracks and crevices, while raised areas and flat areas will be left with only a very slight tint of stain.
- Continue the staining/wiping process until the entire furniture piece is antiqued.
- Finally, use a foam brush to apply at least two coats of non-yellowing polyurethane to the top of the furniture piece. Be sure to follow manufacturer’s instructions regarding dry times and recoating.
How to be Successful While Painting Old Furniture
Painting old furniture can be a fun way to stretch what you already have into what you really need. Do your research to make sure you are using the right products for your specific needs. This way, you won’t have a frustrating, “uh-oh” moment and have to refinish your piece. Once your first project is complete, you’ll be so satisfied with the outcome that you might start looking all over your home for more projects to refinish. If you need help with a painting project, make sure to contact Ropainting and we will be sure to assist you with all your painting needs.