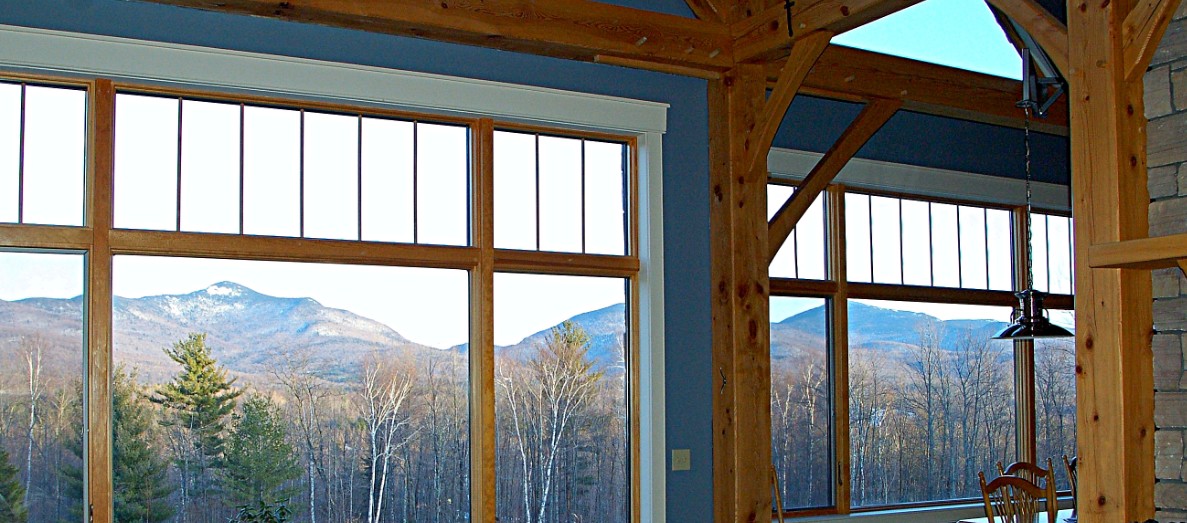
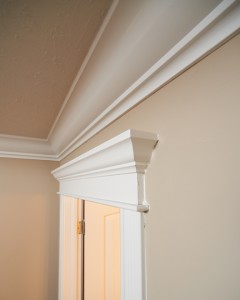
Nothing makes a home look more put together and finished as a nicely executed fresh coat of painting trim. Neglecting the details can make all your hard work look sloppy, your home look unkept, and give visitors the impression that you just don’t care. None of those conclusions are true so why not make sure you maintain the look you really desire by simply painting trim around the room. Trim work is considered as baseboards, crown molding, chair rails, and the casing around doors and windows. In many homes, painting trim consists of slapping a bright white, high gloss paint on those areas, but more homeowners are starting to branch out and experiment with their style painting trim in unexpected colors. Here are a few tips that can help you if you decide to do it yourself.
Getting Started With Painting Trim
1. Spotlight imperfections and fill them. Painting trim means a facelift for your baseboards. These areas can take a beating and can get dinged, warped or damaged. Before getting started, take a good light, a pencil, and a few minutes to shine the light on those imperfections. Circle them with a pencil so you find them later and then fill them with wood putty. Make sure you sand those areas when the wood putty dries, clean them, and prime them. If you miss the spots with primer, you could see dull spots along the baseboard.
2. Wash your trim work thoroughly. Painting trim can really spiff up a room because those areas can really get grungy. Take a look at the trim around the back door of your home right now. It picks up dirt and grunge that you leave behind when you grab those areas while walking in and out the door. To get a good result while painting trim, be sure you wash and degrease those high traffic areas. Chair rails can collect a nice little layer of dust which could ruin the finish of new paint so give all areas of trim a good dusting, wash down, and maybe even a wipe over with a strong cleaner before getting started. Just make sure you rinse and let the areas dry well.
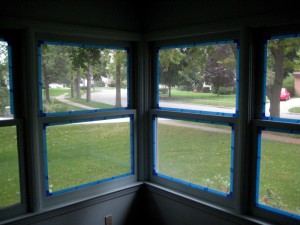
3. Use painter’s tape. Painter’s tape come in a variety of widths, but is formulated to make a tight seal on the surface, yet pull away gently leaving no residue. If you’re a sloppy painter, this tool can be your best friend because if used properly, it can leave a crisp finish just like the pros. Make sure you read the directions on the tape’s label. Some brands recommend that you pull the tape away while the paint is still wet, while others recommend waiting until the paint is dry. Using a putty knife can help make a tight seal between the tape and the wall.
Technique For Painting Trim
4. Load and Go. Once you’re painting trim project is underway, attack it full throttle. The pros use a technique called a “load and go.” This is where they load up about an inch and a half of their paintbrush, shake off any drips, and start to paint. Many novice painters dip their brush and clean it almost completely dry before putting it to the wall. The load and go technique can get the job done fast with a better finish.
5. Sand trim in between coats. The experts from The Family Handyman say that one coat of paint won’t normally hide the color and texture on existing trim work. If you sand it in the middle of painting trim, for example after the first coat dries, you will have a pristine finish. If not, you run the risk of getting a grainy texture in your finished trim work.
Some Last Tips for Painting Trim
6. Paint guards can be effective. While shopping at your local hardware store, you’ve probably noticed a whole host of tools that seem necessary for your task. Paint guards are one of those things that are nice to have, but not necessary. A paint guard is a thin piece of plastic with a long, flat shield, and a handle. It’s used to shield any over brushing that might occur while you’re painting. You paint with one hand and guard with the other. It does take some coordination if you go it alone, but if you have an eager partner who really wants to help complete the job, paint guard guardian might be just the title they need.
7. Don’t paint the carpet. This may sound like a no-brainer, but it’s worth mentioning. If your room has carpeting, that paint guard may not be the answer to keeping your carpet clean through this project. The Family Handyman suggests using that painter’s tape, mentioned earlier, to tape away the carpet. You will want to make sure the paint is dry before removing the taped carpet or you face smearing the wet paint.
8. Paint with the grain. Painting trim can be difficult because there are moldings and crevices that need to be filled or colored. There is also a lot of trim work that needs to be addressed and it outlines all the architecture in your home. Make sure you always paint with the grain of the wood, meaning along the longest run of the trim. Sometimes that can be vertically, such as painting the outside of a door or window. Other time this can be horizontally, such as the baseboards or chair railing.
Painting trim can be a fun, challenging, and rewarding project. It can be the icing on the cake, of sorts, to a quick renovation to any room. They say God is in the details and this rings true when you think about it from a painting viewpoint. Taking that extra few minutes to conquer every step will help you achieve an impressive finished product, a room that you’ll be proud to show off to family and friends. If you’re still unsure about tackling this size of project, you can always leave it to the professionals. Give Romanov Painting a call. Let our service be your solution to any painting problem.