DRYWALL REPAIR
in San Francisco, Palo Alto & San Jose
Professional Drywall Repair Services for Your Home or Business
Damaged drywall can take away from the overall look and feel of your space. Cracks, dents, water stains, or holes not only make walls look unattractive but can also lead to further damage if left untreated.
At Romanov Painting, we provide professional drywall repair services that restore your walls and ceilings to a perfect, paint-ready condition. Our experienced team ensures repairs are seamless, durable, and blend flawlessly with your existing surfaces.
Drywall can be damaged by an assortment of reasons, and we are one of the most experienced drywall repair contractors who can repair the wall and get it looking as good as new! Drywall can be damaged because of flooding or leaks that have caused the drywall to hold the moisture, expand, crack, and fall apart. It can be damaged because the previous wallpaper that covered the wall was improperly removed and the wall became too wet or gouged.
Another reason can be because something has hit the wall and pushed into it. Drywall can also be damaged because of stains from a variety of sources and some damaged drywall is from stress, or from mapping lines that have begun to appear. Regardless of what caused the damage we will restore it to pristine condition.
Why Choose Romanov Painting for Drywall Repair?
When it comes to drywall repair, precision matters. Here’s why homeowners and businesses trust us:
Skilled Craftsmanship – We specialize in repairing all types of drywall damage with attention to detail.
Seamless Finishes – Repairs are blended smoothly into the existing wall or ceiling.
Full-Service Approach – From patching to priming, we prepare your walls for painting.
Clean & Organized Work – We minimize dust and protect your home during the process.
Lasting Results – Our repairs hold up over time, preventing recurring cracks or blemishes.

Common Drywall Issues We Fix
Small Holes & Dents – From nails, screws, or accidental bumps.
Cracks – Often caused by natural settling of the building.
Water Damage – Stains, soft spots, or sagging drywall.
Large Holes – From moving furniture or home accidents.
Poor Previous Repairs – Uneven textures or visible seams.
Corner Bead & Joint Problems – Separated seams or broken corners.
Benefits of Professional Drywall Repair
Extends the life of your walls and ceilings.
Enhances the appearance of your home or business.
Creates a perfect surface for painting.
Prevents further damage from spreading.
Adds value to your property.
Our Drywall Repair Process
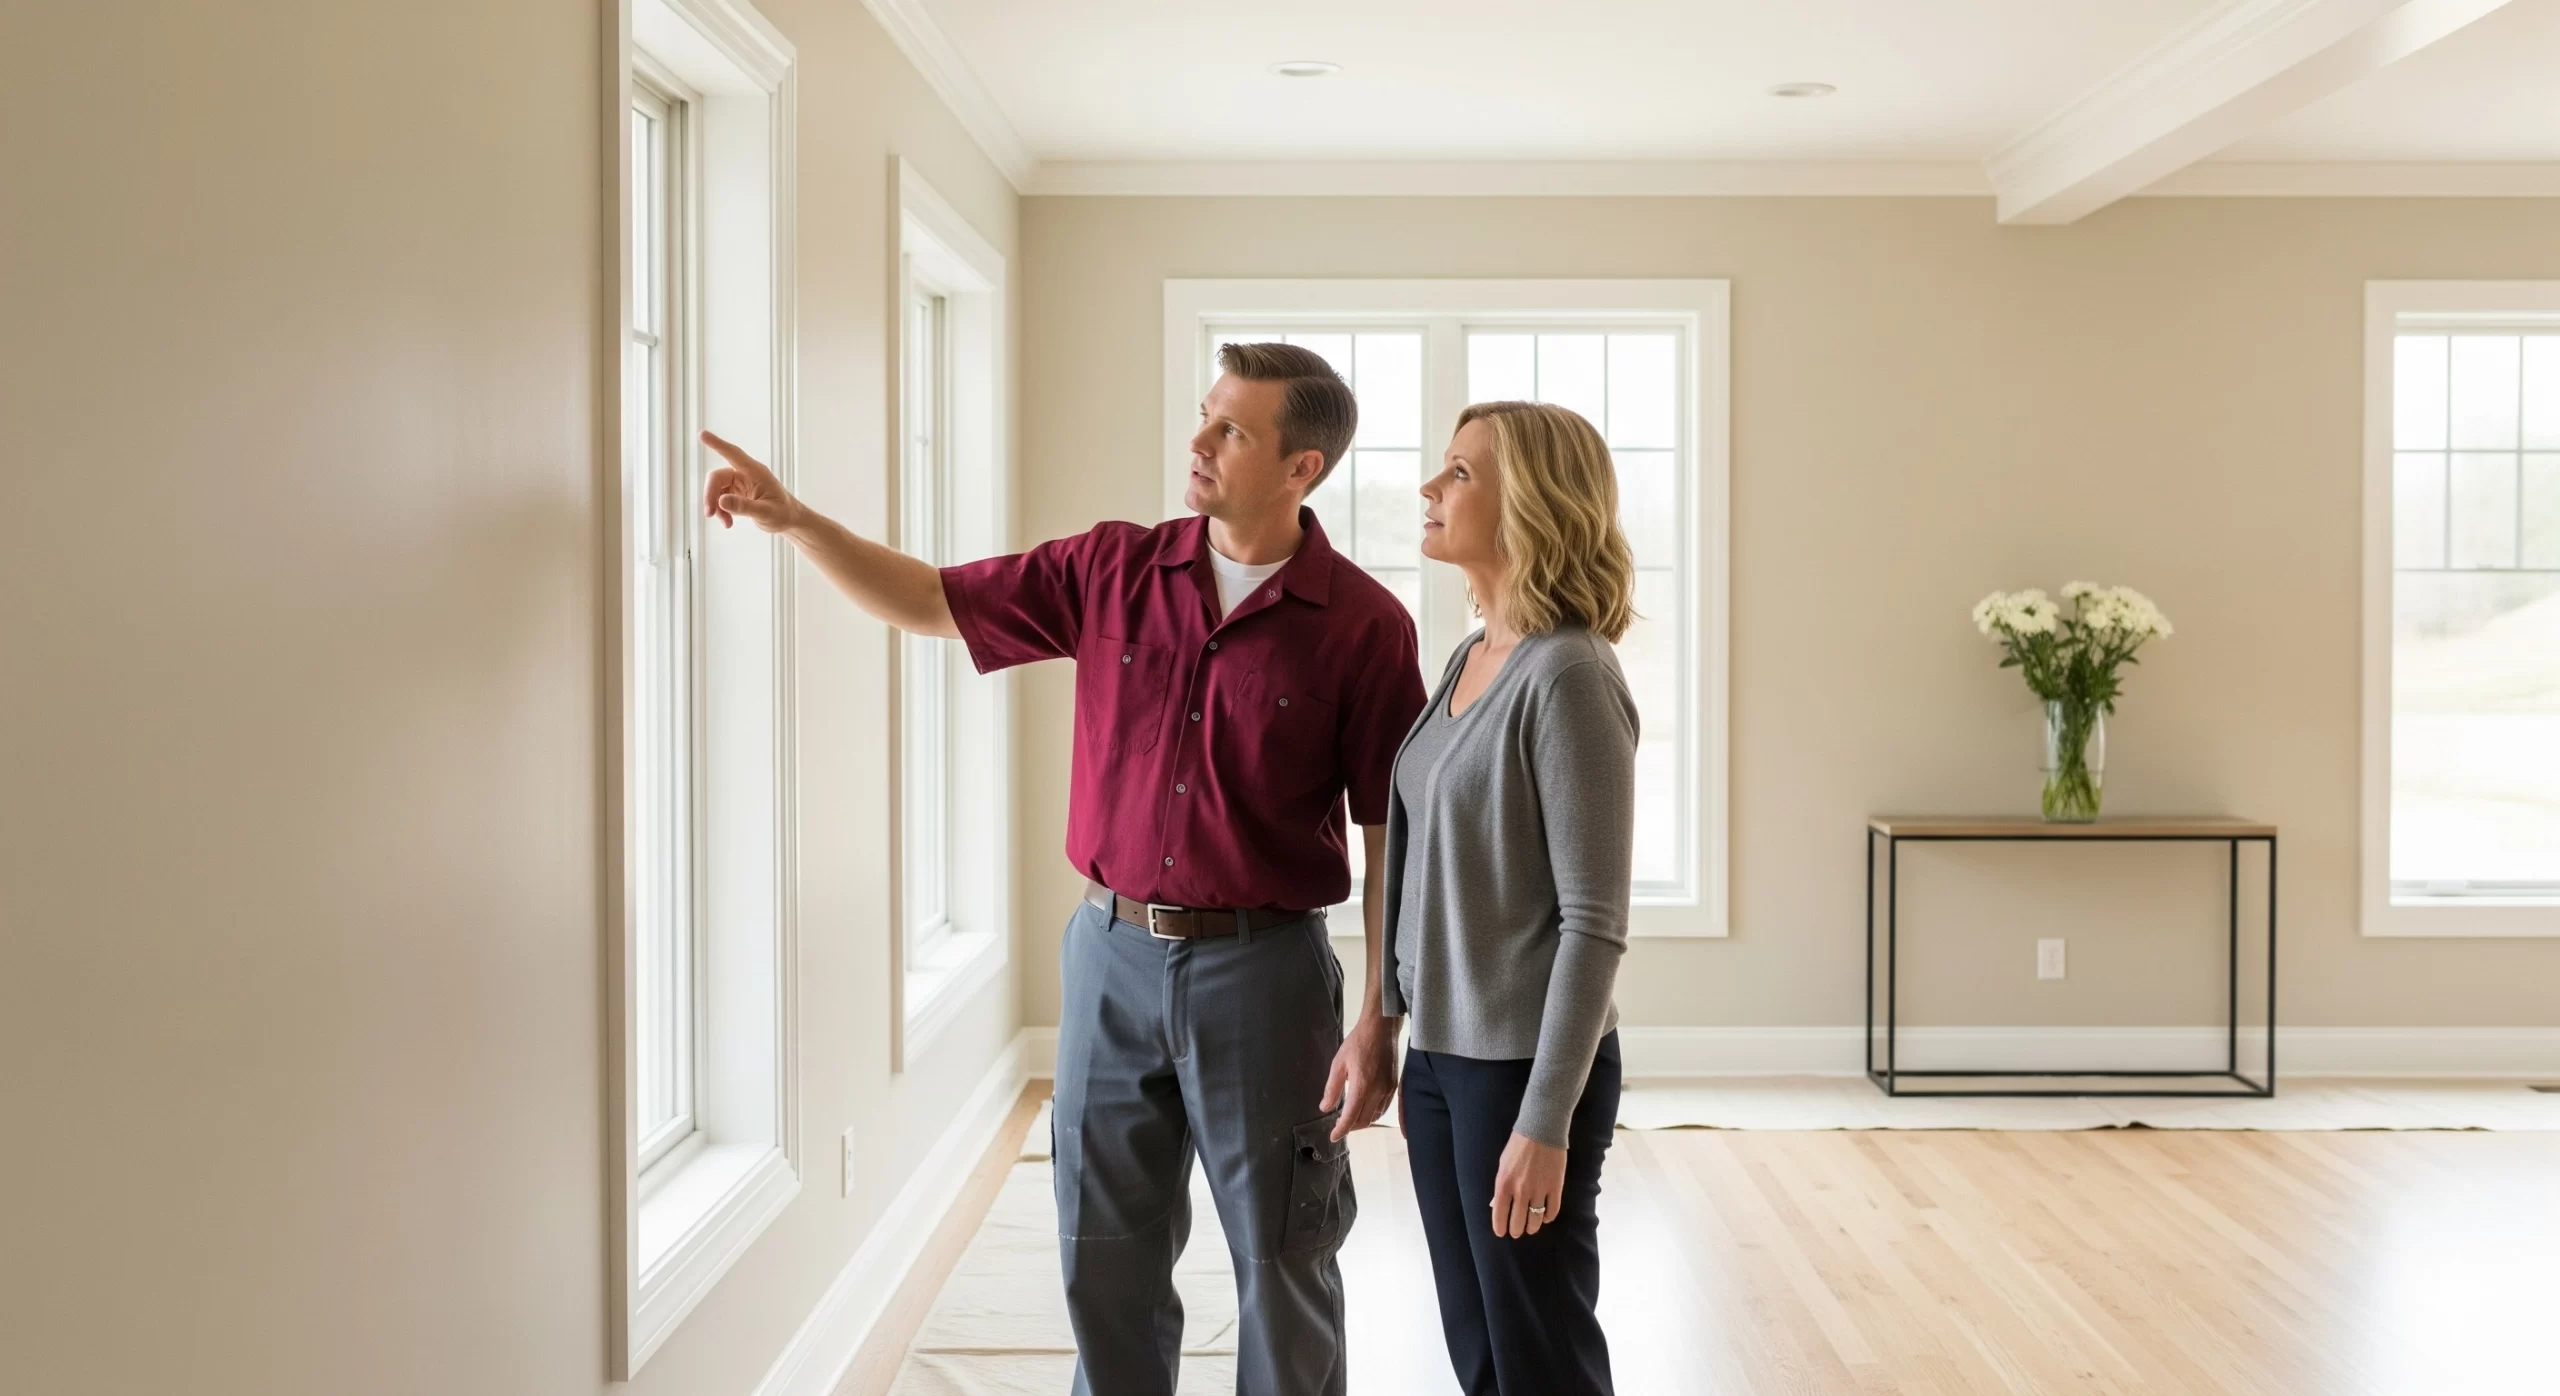
1. Consultation & Inspection
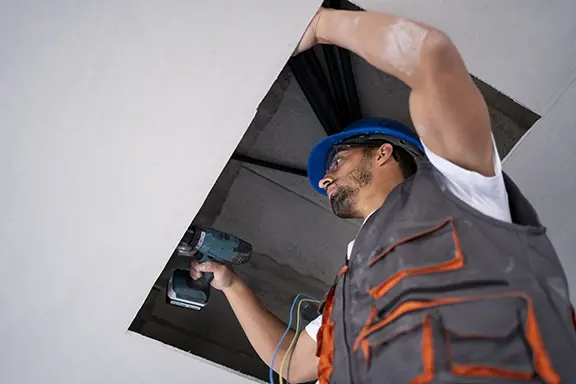
Every successful drywall repair project begins with a thorough consultation and inspection. Our team visits your home to carefully examine the damaged walls or ceilings, whether it’s small nail holes, cracks from settling, or large sections that require replacement. During this walkthrough, we discuss your goals, evaluate the severity of the damage, and identify any underlying issues like water leaks or structural movement. By providing a detailed, upfront assessment, we ensure you receive a clear, itemized plan of action before work begins.

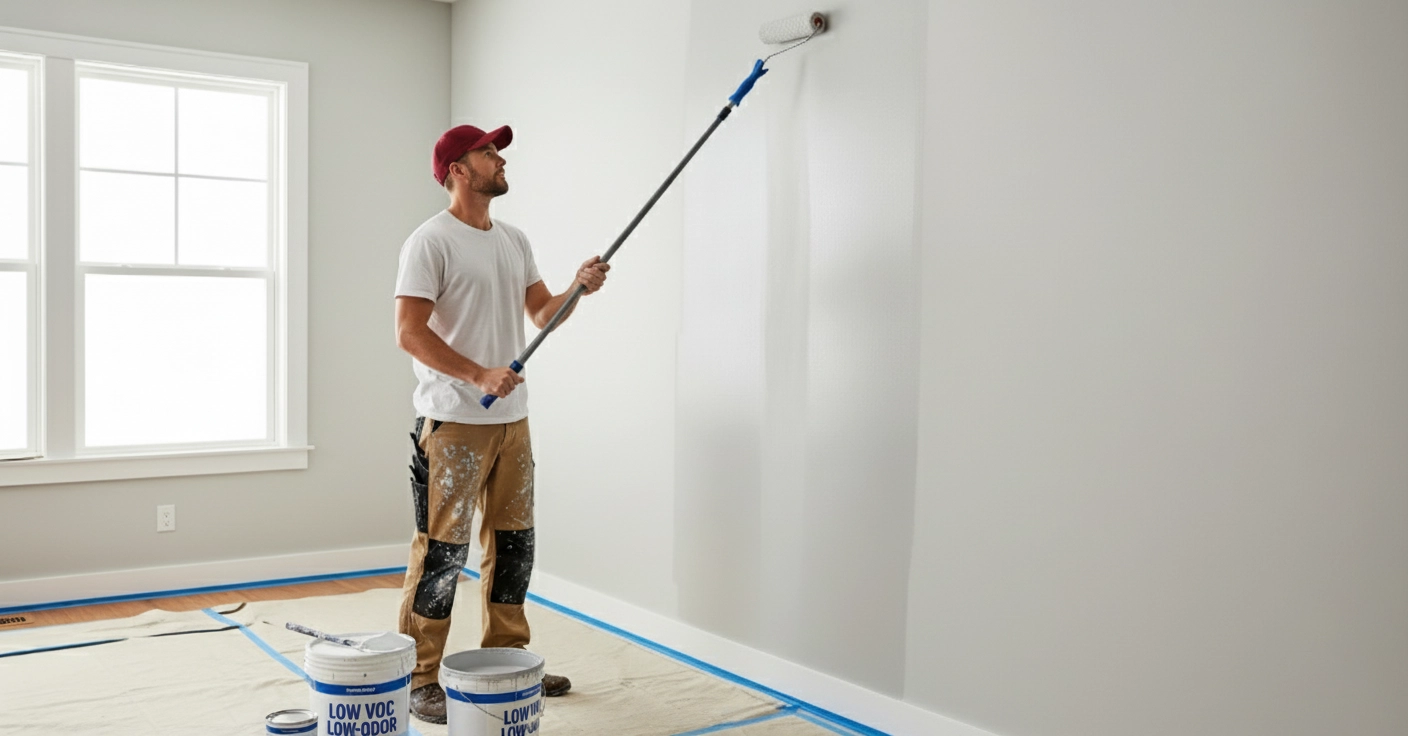
2. Protecting Your Space
Drywall repair can create dust and debris, so protecting your living space is one of our top priorities. Before starting any repair, we carefully cover floors, furniture, baseboards, and nearby surfaces with professional-grade drop cloths and plastic sheeting. This step helps keep your home clean and ensures the repair area is isolated from the rest of your house. By minimizing mess and disruption, we allow you to continue using your space comfortably during the project.
3. Surface Preparation & Repair
Proper surface preparation is critical for achieving flawless results. We begin by cleaning and trimming the damaged area to create a stable base for the repair. For small holes or hairline cracks, we use patching and filling techniques. For larger damaged areas, we cut away the compromised drywall and replace it with new panels. Seams are reinforced with joint tape and layers of compound, ensuring a strong, seamless bond. If your walls experienced water damage, we confirm that all moisture issues are resolved before proceeding to prevent future problems.
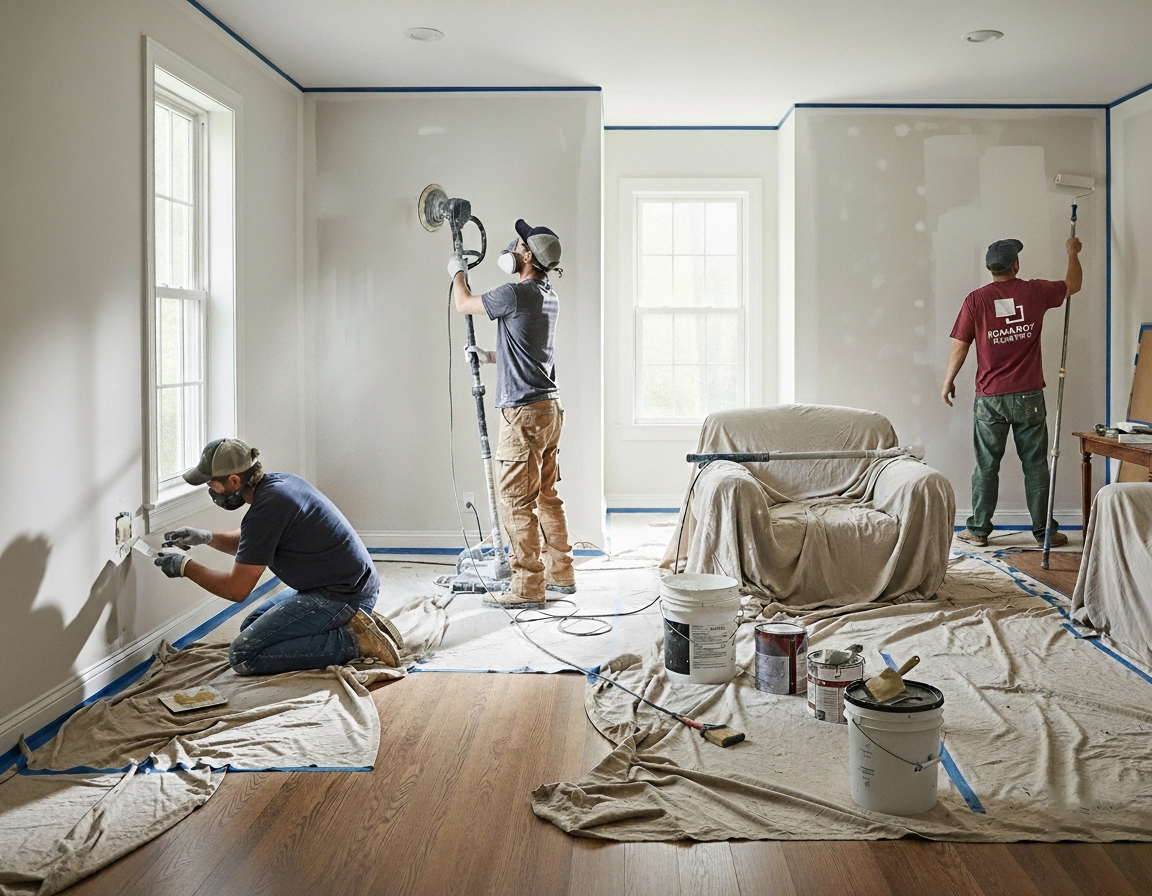
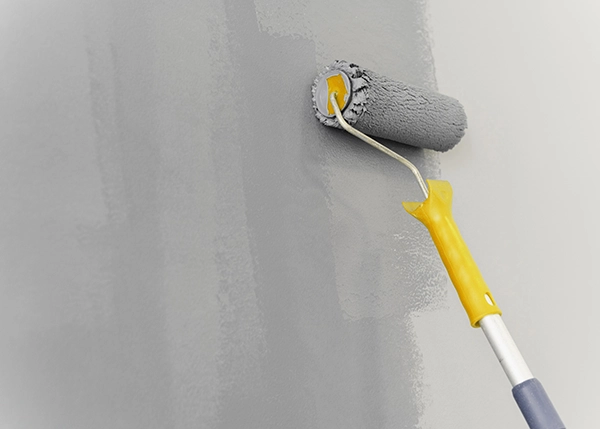
4. Smoothing & Priming
To create a surface that looks brand new, we apply multiple layers of joint compound (“mud”), feathering it smoothly across the wall to eliminate visible seams. Once the compound dries, our team sands the surface carefully to achieve a perfectly flat finish. We use dust-control methods to minimize cleanup and improve indoor air quality. After sanding, we apply a high-quality primer that seals the repaired drywall, enhances durability, and ensures that your final paint color applies evenly and looks consistent across the entire wall or ceiling.
5. Final Walkthrough & Quality Check
The last step is ensuring everything meets your expectations. We conduct a detailed walkthrough with you, checking every repaired area for smoothness, consistency, and seamless integration with the surrounding walls. Our goal is to leave you with walls that look brand new and are ready for painting. After cleanup, your space will be spotless, dust-free, and completely prepared for the finishing touches of your interior painting project.
1. Consultation & Inspection
Every successful drywall repair project begins with a thorough consultation and inspection. Our team visits your home to carefully examine the damaged walls or ceilings, whether it’s small nail holes, cracks from settling, or large sections that require replacement. During this walkthrough, we discuss your goals, evaluate the severity of the damage, and identify any underlying issues like water leaks or structural movement. By providing a detailed, upfront assessment, we ensure you receive a clear, itemized plan of action before work begins.
2. Protecting Your Space
Drywall repair can create dust and debris, so protecting your living space is one of our top priorities. Before starting any repair, we carefully cover floors, furniture, baseboards, and nearby surfaces with professional-grade drop cloths and plastic sheeting. This step helps keep your home clean and ensures the repair area is isolated from the rest of your house. By minimizing mess and disruption, we allow you to continue using your space comfortably during the project.
3. Surface Preparation & Repair
Proper surface preparation is critical for achieving flawless results. We begin by cleaning and trimming the damaged area to create a stable base for the repair. For small holes or hairline cracks, we use patching and filling techniques. For larger damaged areas, we cut away the compromised drywall and replace it with new panels. Seams are reinforced with joint tape and layers of compound, ensuring a strong, seamless bond. If your walls experienced water damage, we confirm that all moisture issues are resolved before proceeding to prevent future problems.
4. Smoothing & Priming
To create a surface that looks brand new, we apply multiple layers of joint compound (“mud”), feathering it smoothly across the wall to eliminate visible seams. Once the compound dries, our team sands the surface carefully to achieve a perfectly flat finish. We use dust-control methods to minimize cleanup and improve indoor air quality. After sanding, we apply a high-quality primer that seals the repaired drywall, enhances durability, and ensures that your final paint color applies evenly and looks consistent across the entire wall or ceiling.
5. Final Walkthrough & Quality Check
The last step is ensuring everything meets your expectations. We conduct a detailed walkthrough with you, checking every repaired area for smoothness, consistency, and seamless integration with the surrounding walls. Our goal is to leave you with walls that look brand new and are ready for painting. After cleanup, your space will be spotless, dust-free, and completely prepared for the finishing touches of your interior painting project.
Frequently Asked Questions (FAQs)
Minor repairs can be completed in just a few hours, while larger sections may take a day or two, depending on drying time for compounds.
Yes. Our team is skilled in matching textures to ensure the repaired area blends seamlessly with the rest of your wall or ceiling.
For the best results, painting is highly recommended after drywall repair. It ensures the repaired area is completely invisible and protected.
Most cracks occur due to natural settling of the building, temperature changes, or foundation shifts. Professional repair helps prevent them from reappearing.
Yes, but only after addressing the source of the moisture. We repair or replace damaged drywall and restore the surface to its original condition.
Things to Keep in Mind
When the drywall has been damaged from floodwaters, it must be dried and repaired promptly. If the damage is so extensive that it requires replacement of an entire section of the wall, the best means of accomplishing this is to hire a drywall repair contractor that is experienced in this type of restoration.
One of the reasons that it must be done quickly is to not give the moisture a chance to feed the mold or mildew that is certain to grow if the wall is not promptly dried. A severely damaged section should be promptly removed.
The problems in detecting drywall that has water damage may be because it’s painted, covered with wallpaper, or is a paneled wall; because of these issues the damage may not be discovered until the mold and mildew have escalated to the degree that the entire wall must be replaced. Unfortunately, drywall has to be dried from the inside out before any repairs can be started.
We as professional drywall repair contractors know how to find the areas of damage and the best methods of drying the wall to ensure that the repairs are efficiently done.
Sometimes drywall is damaged from leaks in the roof or from plumbing running through the walls or under the flooring. When this happens it also may be difficult to readily notice until it is damaged beyond repair and must be replaced. This is also a job for the drywall repair contractors to determine the best manner in which the wall has to be repaired. We have been trained on removing damaged carpet from the surrounding area, getting the walls dried, treating the areas to prevent mold and mildew from forming, and determining the most effective method to repair or replace the drywall.
When the drywall has a stain on it from a leak, many homeowners assume that simply painting over the stained part of the wall is sufficient. In some cases, if the water damage is minimal from a leak and was dried quickly before any mold could form and begin to grow, repainting the stained area is sufficient.
A drywall repair contractor should be brought in to take a look at the area and ensure that mold or mildew is not growing and that painting would be all that is necessary.
There are also times when drywall is stressed because of the foundation shifting and there are cracks running through the wall. There are also lines that look similar to stress lines, called mapping lines, that also need to be repaired – after the foundation shift problem is rectified.
Drywall repair contractors can help determine if these lines are stress lines from foundation shift, or if they are mapping lines from the drywall that has been previously damaged or is simply old and needs to be replaced.
If the stress and mapping lines are caused by foundation shift that has been repaired, then the drywall repair contract can generally repair those hairline cracks very easily. They will generally use some type of paper tape or fiberglass meshed tape that can be easily used to fix these cracks.
Once the crack line is taped, the drywall mud can be spread across the tape and blended into the surrounding wall’s texture. When it’s allowed to thoroughly dry, which can take several days, depending on the temperature and the humidity levels, the section of the wall can be painted and no one will know that the damage was ever there.
Drywall repair can be very expensive in both time and money if it isn’t done correctly, and it’s very important to get estimates and recommendations from several contractors. The estimates can run from very low for small patches that can be completed in a couple of hours to very expensive jobs that can take several days from start to finish due to any drying that has to be done, and if there has to be steps taken to treat the area for mold and mildew. When the damage affects a large section of the wall, it is generally very expensive to repair and replace.
When the estimates are requested from the drywall repair contractors, be sure to get a complete detailed description of the amount of damage that has been discovered, and the work that needs to be done to restore the wall to its original condition. This should also include all treatment for mold and mildew if the damage was due to water leaks or flooding. Be sure to get references from each of the contractors and go see the work that has been done for previous customers, and talk to the references to determine how professional the contract is, and how timely that the repair was done. Next, get a detailed cost estimate from each contractor, with a description of what part of their work is guaranteed and for how long.
As drywall repair contractors we have had training and experience to do the necessary repair work that will restore the wall and repair any damage. Once the wall is repaired, the room will look brand new again, and last many years.

OUR CLIENTS


Feedback From Our Customers
Service Areas
Palo Alto, Menlo Park, Atherton, Redwood City, Woodside, San Carlos, Belmont, San Mateo, Hillsborough, Burlingame, Foster City, Castro Valley, San Ramon, Denville, Pleasenton etc